
超级喜欢慕斯蛋糕,
丝滑的口感入口即化,
周末做一份高颜值的慕斯蛋糕吧~
无需烤制就能做哦~
草莓慕斯蛋糕

材 料:
淡奶油200克、新鲜草莓230克、消化饼干75克、无盐黄油30克、纯牛奶35克、吉利丁片10克、草莓味QQ糖40克、装饰用芒果1个、细砂糖35克
步 骤 :
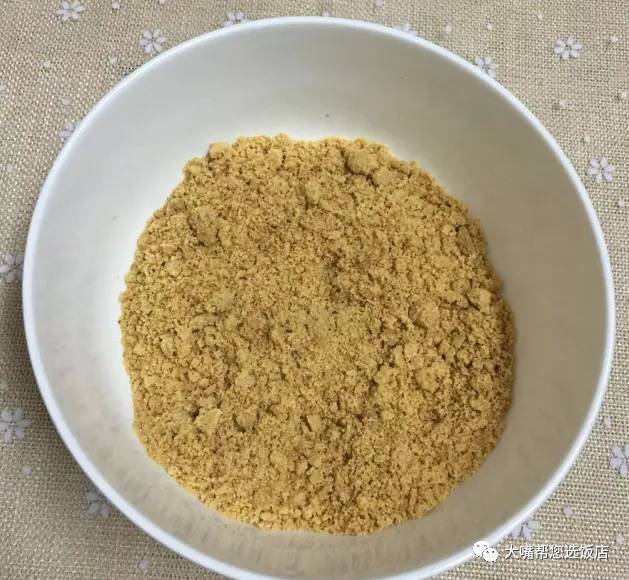
1. 消化饼干用料理机打碎或用擀面棍敲碎备用。
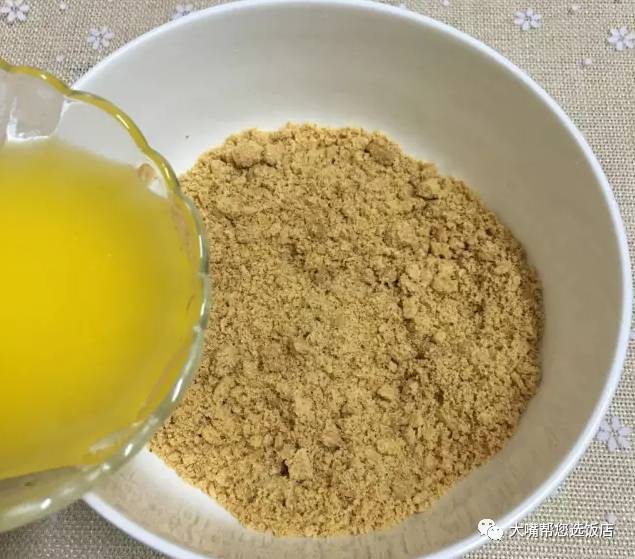
2. 黄油隔水融化。

3. 将融化好的黄油和饼干碎混合,用勺子充分拌匀。
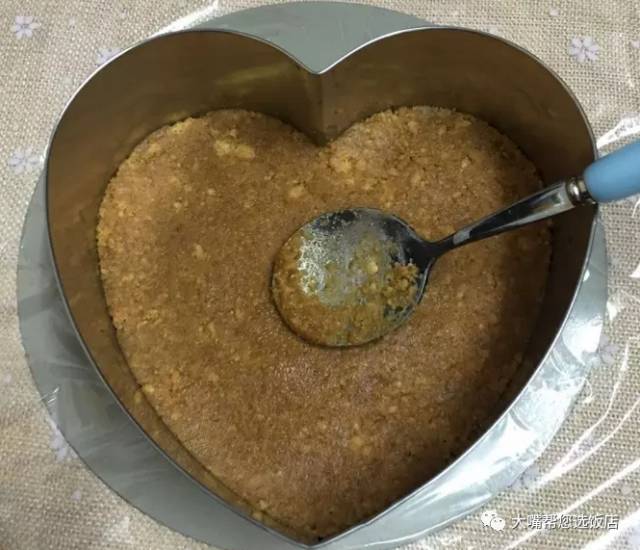
4. 慕斯圈底部包上保鲜膜,将拌好的饼干铺入慕斯圈底部,用勺子压实后送入冰箱冷藏备用。
5. 吉利丁片剪小块,加入冷开水泡软。

6. 隔热水不停搅拌至完全融化。

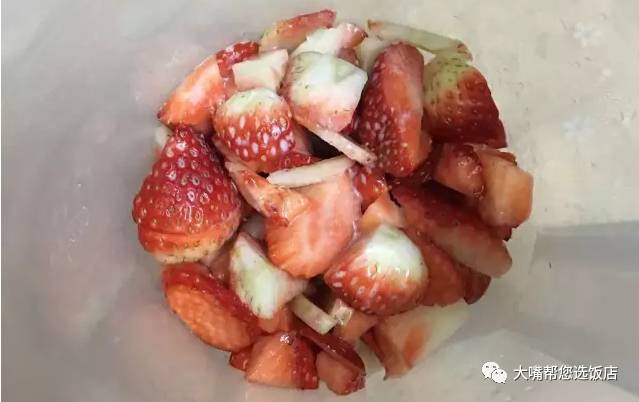
7. 草莓洗净沥干水,切丁放入搅拌杯中,加入35克纯牛奶和35克细砂糖。
8. 搅打成汁,将草莓汁过筛两遍。

9. 将吉利丁片和草莓汁混合,搅拌均匀备用。

10. 淡奶油用电动打蛋器低速打至6-7分发。

11. 将加了吉利丁片的草莓糊倒入打发好的淡奶油中。

12. 用刮刀翻拌均匀即成慕斯液。

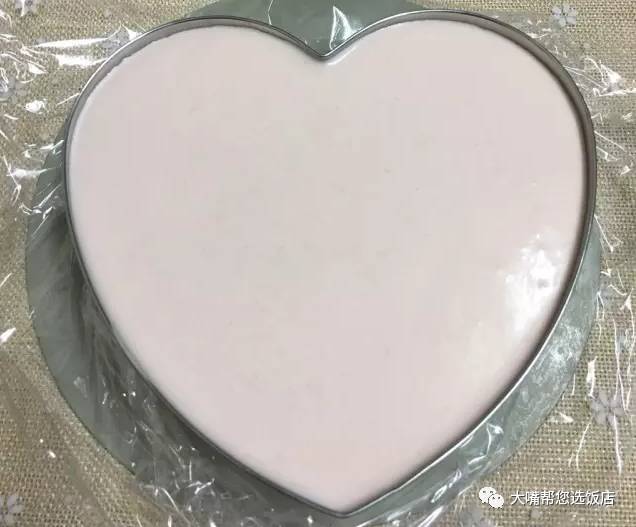
13. 将慕斯液倒入慕斯圈里,轻轻震几下,震出大气泡,盖上保鲜膜放入冰箱冷藏4小时以上。
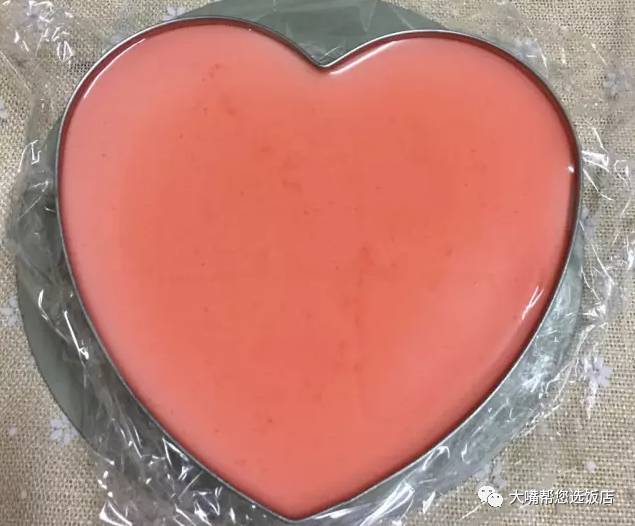
14. QQ糖加入少许开水和细砂糖(分量外),隔水加热至完全融化,晾凉备用。

15. 从冰箱里取出慕斯蛋糕,把QQ糖的融化液过筛倒入慕斯蛋糕表面,再放入冰箱冷藏30分钟左右即成镜面。
16. 取出慕斯蛋糕稍作装饰,酸酸甜甜的草莓慕斯蛋糕就做好啦。

小贴士:
模具用的是三能屋诺6寸心形慕斯圈,脱模时可以用热毛巾在慕斯圈外圈热敷一会,也可以用吹风筒在慕斯圈外圈稍微吹一下即可脱模,QQ糖有点酸,所以融化时加入少许细砂糖中和一下会没那么酸。

